Create Your Own Blogger Search using FeedBurner Feed (JSON Format)
Published on November 25, 2013
It’s really fun in creating your own search engine for your own blog. I did it and I’m really excited to share it with you. Besides that, I learn some useful concepts like JSON parsing in javascript and using XMLHttpRequest2. So what can you learn from this post? I’m posting this to make you understand how to play with Feedburner feeds. How to parse JSON format data in your program using plain javascript(without any libraries) and finally few javascript DOM related programming.
.jpg)
Setup
Before you begin it I’m assuming you have a blog and you set up Feedburner feeds for your blog. If you don’t just do it or you can use my blog feed to learn(Gonna show you) this. Let’s create our project in xampp/htdocs(I’m using xampp for my localhost but you can use whatever you like to. We should use a server otherwise XMLHttpRequest won’t work). I’m naming it as MyBlogSearch(You can put whatever you want). Now I’m opening it in my Sublime text2 as through open folder option in the file menu. Let’s add some files and folder to our project.
Add files and folder as below.
1)/index.html
2)/js/app.js
3)/css/img/logo.png(put your logo here)
4)/css/style.css
Once you added these files, just open your index.html and add the following code.
index.html
<!DOCTYPE html>
<html lang="en">
  <head>
    <meta charset="UTF-8" />
    <title>Techumber Feedburner(JSON) Blog Search Engine</title>
    <link rel="stylesheet" type="text/css" href="css/style.css" />
  </head>

  <body>
    <div class="main">
      <header>
        <h1 class="logo">
          <a href="//techumber.com"></a>
          <div class="logocircle" />
        </h1>
        <form action="">
          <input type="text" name="" id="q" />
        </form>
      </header>
      <div id="out"></div>
    </div>
    <script type="text/javascript" src="js/app.js"></script>
  </body>
</html>
Now open your style.css and add this code.
style.css
/*simple reset*/

* {
  padding: 0;
  margin: 0;
  border: 0;
  -webkit-box-sizing: border-box;
}
html,
body,
.main {
  height: 100%;
  width: 100%;
}
.main {
  width: 700px;
  margin: 0 auto;
}
body {
  background: #fff;
  font: 16px/18px arial, sans-serif;
}
header {
  width: 100%;
}
form {
  width: 400px;
  margin: auto;
}
input {
  border: 2px solid #aaa;
  border-radius: 5px;
  padding: 5px;
  width: 100%;
  text-align: center;
  outline: none;
}
.logo a {
  background: url('img/logo.png') no-repeat;
  width: 190px;
  height: 90px;
  display: block;
  margin: 10px auto;
}
.logocircle {
  -webkit-animation: spin 1s infinite linear;
  -moz-animation: spin 1s infinite linear;
  background-color: transparent;
  border: 5px solid rgba(0, 0, 0, 0.9);
  border-left: 5px solid transparent;
  border-radius: 110px;
  -moz-border-radius: 110px;
  border-right: 5px solid transparent;
  height: 90px;
  opacity: 0.9;
  width: 90px;
  position: absolute;
  top: 10px;
  left: 50.1%;
  margin-left: -100px;
}
@-webkit-keyframes spin {
  0% {
    -webkit-transform: rotate(0deg);
  }
  100% {
    -webkit-transform: rotate(360deg);
  }
}
@-moz-keyframes spin {
  0% {
    -moz-transform: rotate(0deg);
  }
  100% {
    -moz-transform: rotate(360deg);
  }
}
/*Output styles*/

#out {
  padding: 20px;
  width: 100%;
  margin-top: 10px;
  height: 74%;
  border: 1px solid #ddd;
  border-radius: 5px;
  box-shadow: 0px 0px 5px #ddd;
  overflow-y: scroll;
}
#out a,
#out a:visited {
  color: #333;
}
#out div {
  padding-bottom: 20px;
}
#out h2 {
  font-size: 20px;
  line-height: 21px;
  padding: 15px 0 15px;
}
#out img {
  float: left;
  padding: 0 10px 0 0;
  width: 80px;
}
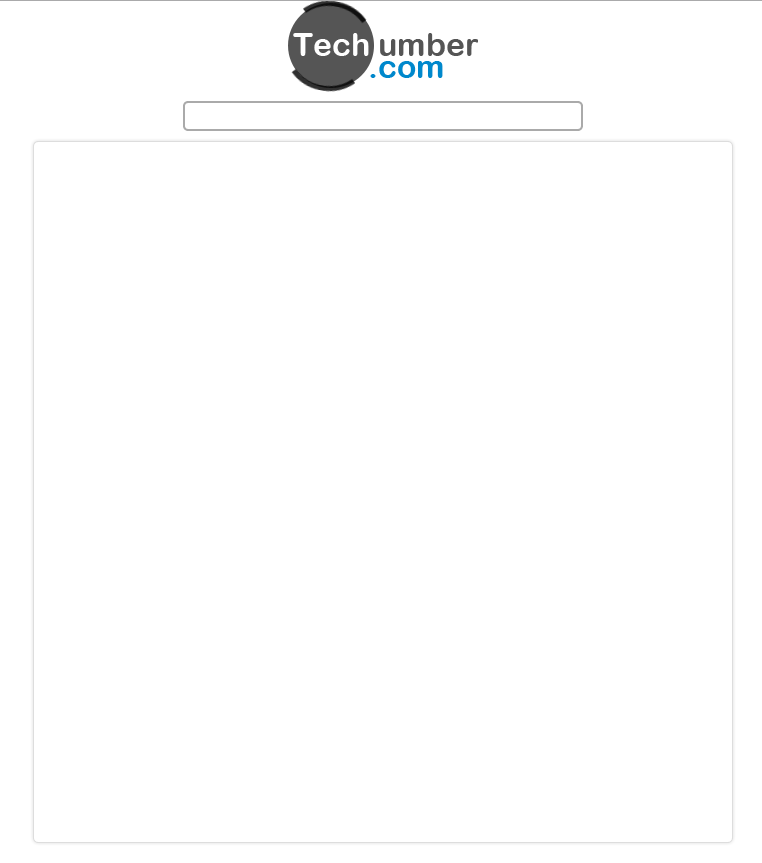
So, we have created a simple HTML and CSS(UI) for our app. If you open your index.html you should see something like this.
++1.png)
UI part was done. Now let’s start to deal with javaScript. Before we write our javascript I want to show you how the Feedburner’s JSON format look like. Just open the below link in your browser.
//www.techumber.com/feeds/posts/summary?alt=json&max-results=2000You should see a huge text in your browser. We can’t understand anything in it. Because it is a JSON data but string format. To view in actual JSON format you can do two things.
1)Install json viewer extinction in your google chrome.
2)You can view it in chrome developer tool my using JSON.parse method.
Note: If you don’t know anything about JSON just start it at //www.w3schools.com/json/
Now let’s start writing our javascript code. Now open the app.js file.
var App = {
  init: function() {
    var url = '//www.techumber.com/feeds/posts/summary?alt=json&max-results=2000';
    var xhr = new XMLHttpRequest();
    xhr.open('GET', url, true);
    xhr.onload = function(e) {
      if (this.status == 200) {
        console.log(JSON.parse(this.response));
      }
    };
    xhr.send();
  },
};
App.init();
Now, reload your index.html in your browser and open your console(press f12 key). Oooops… I got the “Cross-domain origin” error. you? I guess you also got the same error that’s because we can’t access another domain url from some other domain using Ajax. We won’t get this error when we integrate it with our own blog since blog domain and feed domain will be same. To continue this tutorial I’m creating a local JSON feed file. Create a file data.json in your js folder and copy paste the code we got at “//www.techumber.com/feeds/posts/summary?alt=json&max-results=2000”
data.json
{"version":"1.0","encoding":"UTF-8","feed":{"xmlns":"//www.w3.org/2005/Atom","xmlns$openSearch":"//a9.com/-
......................
......................
{"name":"commentModerationMode","value":"FILTERED_POSTMOD"}]}]}}
I didn’t add all the content here but you need to add it. Now update your app.js file and change the URL value as below.
var App = {
  init: function() {
    var url = 'js/data.json';
    var xhr = new XMLHttpRequest();
    xhr.open('GET', url, true);
    xhr.onload = function(e) {
      if (this.status == 200) {
        console.log(JSON.parse(this.response));
      }
    };
    xhr.send();
  },
};
App.init();
Now reload your index.html page in localhost and open javascript console(by pressing f12) now you should see below output in your console.
++2.png)
Until now we just got our data as JSON and we can view it. Now we will write some js code to create our actual search engine. Let’s update our app.js file as below.
var q = document.getElementById('q'),
  out = document.getElementById('out'),
  App = {
    db: '',
    //initilization
    init: function() {
      this.getDB();
      this.events();
    },
    //loading feed json
    getDB: function() {
      var base = this;
      var url = 'js/data.json';
      var xhr = new XMLHttpRequest();
      xhr.open('GET', url, true);
      xhr.onload = function(e) {
        if (this.status == 200) {
          base.db = JSON.parse(this.response);
        }
      };
      xhr.send();
    },
    //for input keyup event
    events: function() {
      var base = this;
      q.addEventListener('keyup', function() {
        base.showResult(this.value);
      });
    },
    //formating result
    showResult: function(q) {
      out.innerHTML = ' ';
      var flag = false,
        base = this,
        result = ' ',
        match = new RegExp(q, 'ig'),
        entrs = this.db.feed.entry;
      entrs.forEach(function(post) {
        console.log(q.length);
        if (q.length >= 3 && (post.title.$t.search(q) != -1 || post.summary.$t.search(q) != -1)) {
          flag = true;
          result += '<div class="post">';
          result +=
            '<h2><a target="_blank" href="' +
            base.getLink(post) +
            '">' +
            base.getTitle(post, match, q) +
            '</a></h2>';
          result += '<img src="' + base.getThumb(post) + '" />';
          result += '<p>' + base.getDesc(post, match, q) + '</p>';
          result += '</div>';
        }
      });
      if (flag) {
        out.innerHTML = result;
      } else {
        out.innerHTML = '<h2>Sorry! There is no result for your search tearm..</h2>';
      }
    },
    //get post link url
    getLink: function(post) {
      for (var i = 0; i < post.link.length; i++) {
        if (post.link[i].rel == 'alternate') {
          return post.link[i].href;
        }
      }
    },
    //get post title
    getTitle: function(post, match, q) {
      return post.title.$t.replace(match, '<mark>' + q + '</mark>');
    },
    //get post description
    getDesc: function(post, match, q) {
      return post.summary.$t.replace(match, '<mark>' + q + '</mark>').substr(0, 256) + '...';
    },
    //get post thumbnail
    getThumb: function(post) {
      console.log(post);
      if ('media$thumbnail' in post) return post.media$thumbnail.url;
      else
        return '//3.bp.blogspot.com/_JUg9QsmKp5s/TNXA87HvkFI/AAAAAAAABRY/2aVYRBr6oqY/s000/NoThumb.gif';
    },
  };
App.init();
Here I create a App object with few functions. Let’s have a look at them.
init:
This is responsible for initializing the app.
getDB:
In this, we will make ajax request to load the JSON data and we used javascript built in JSON.parse to convert the string to JSON format. Finally, we will store the data in Apps DB property. Please note we need to change URL when we integrate the code in our actual website.
events:
In this, we will capture user input for search and call showResult function.
showResult:
This is the heart of this app. Here we will loop through all entries(posts) and create the result in HTML format and append that to the index.html div with id “out”. In the result, we will show the title of the post with link, post thumbnail and post a summary. To get all this values we will use helper functions getLink, getTitle, getDesc, getThumb. The code itself explains everything. Now, since everything is done just open your index.html in localhost and enter some search term. I’m Entering CSS the result will be…
++3.png)
Conclusion
We have created a simple blog search engine using Feedburner feed. But It will work only when we have enabled blog feed for our blog. I’m using blogger platform for my blog you should check yourself to enable Feedburner feed for respective blogging platforms(WordPress,drupal,Joomla). However, I checked it only on Google chrome browser. I didn’t do any validations thought so please take care when you developing cross-browser version. Thank You.